前言
在Web应用程序开发过程中,将文件上传到服务器上是一种常见的需求,在很多场景中都非常有用,比如用户头像、图片等资源上传到服务器后进行存储或进一步处理。本文将介绍如何使用.NET Web API 实现文件上传。
实现过程
1、使用 Visual Studio 2022 创建项目 ASP.NET Core Web API 项目
2、配置服务和中间件
添加必要的服务和中间件来处理文件上传,如果上传文件存储目录不是默认的 wwwroot 目录,则可以使用 UseStaticFilesr 中间件服务重载方法。使用app.UseStaticFiles配置静态文件中间件以达到创建虚拟路径。如下面代码段:
using Microsoft.AspNetCore.Http.Features;using Microsoft.Extensions.FileProviders;namespace Fountain.WebAPI.UploadDemo{ public class Program { public static void Main(string[] args) { var builder = WebApplication.CreateBuilder(args); builder.Services.AddControllers(); builder.Services.AddEndpointsApiExplorer(); builder.Services.AddSwaggerGen(); builder.Services.Configure<FormOptions>(options => { options.ValueLengthLimit = int.MaxValue; options.MemoryBufferThreshold = 1; // 设置单个文件大小限制为2MB options.MultipartBodyLengthLimit = 2097152; }); var app = builder.Build(); if (app.Environment.IsDevelopment()) { app.UseSwagger(); app.UseSwaggerUI(); } app.UseHttpsRedirection(); app.UseAuthorization(); string uploadPath = (app.Environment.ContentRootPath + "/Upload").Replace("/", "\\"); if (!Directory.Exists(uploadPath)) { Directory.CreateDirectory(uploadPath); } // 使用自定义的静态文件目录 app.UseStaticFiles(new StaticFileOptions { FileProvider = new PhysicalFileProvider( Path.Combine(app.Environment.ContentRootPath, "upload") ), RequestPath = "/upload" }); app.MapControllers(); app.Run(); } }}
3、创建控制器
在项目的 Controllers 文件夹中,创建文件上传的控制器类。如下面代码:
using Microsoft.AspNetCore.Http;using Microsoft.AspNetCore.Mvc;using Microsoft.Extensions.Logging;namespace Fountain.WebAPI.UploadDemo.Controllers{ [Route("api/[controller]")] [ApiController] public class UploadFileController : ControllerBase { public static IWebHostEnvironment webHostEnvironment; /// <summary> /// /// </summary> /// <param name="environment"></param> public UploadFileController(IWebHostEnvironment environment) { webHostEnvironment = environment; } /// <summary> /// /// </summary> /// <param name="file"></param> /// <returns></returns> [HttpPost] public async Task<IActionResult> Upload(IFormFile file) { ResponseContent response = new ResponseContent(); try { // 在服务器端,应该验证上传文件的类型,防止恶意文件(如可执行文件)的上传。 // 可以通过检查文件的扩展名或者内容类型(ContentType属性)来进行验证 var allowedExtensions = new[] { ".jpg", ".png"}; var fileExtension = Path.GetExtension(file.FileName); if (!allowedExtensions.Contains(fileExtension)) { response.Success = false; response.Message = "不允许的文件类型"; return StatusCode(500, response); } if (file == null || file.Length == 0) { response.Success = false; response.Message = "没有文件上传"; return StatusCode(500, response); } // 文件大小限制,限制为2MB if (file.Length > 2 * 1024 * 1024) { response.Success = false; response.Message = "文件太大"; return StatusCode(500, response); } // 设置上传文件存放路径 string webPath =string.Format("{0}{1}{2}{3}",webHostEnvironment.ContentRootPath,Path.DirectorySeparatorChar,"Upload", Path.DirectorySeparatorChar); if (!Directory.Exists(webPath)) { Directory.CreateDirectory(webPath); } // using (FileStream filestream = System.IO.File.Create(webPath + file.FileName)) { file.CopyTo(filestream); filestream.Flush(); } } catch (Exception exception) { response.Success = false; response.Message = "文件上传失败"; return StatusCode(500, response); } response.Success = false; response.Message = "上传成功"; return Ok(response); } }}
namespace Fountain.WebAPI.UploadDemo{ public class ResponseContent { /// <summary> /// 状态 /// </summary> public bool Success { get; set; } /// <summary> /// 消息 /// </summary> public string Message { get; set; } /// <summary> /// 保存响应数据 /// </summary> public object Data { get; set; } }}
4、优化与改进
文件大小限制
默认情况下,ASP.NET Core 对上传文件的大小设有一定限制。若需突破这一限制,可在 Program.cs 文件中进行配置。
builder.Services.Configure<FormOptions>(options =>{ options.ValueLengthLimit = int.MaxValue; options.MemoryBufferThreshold = 1; // 设置单个文件大小限制为2MB options.MultipartBodyLengthLimit = 2097152;});
可以通过在上传方法中嵌文件大小验证逻辑,限制文件大小的上传。
// 文件大小限制 限制为2MBif (file.Length > 2 * 1024 * 1024) { response.Success = false; response.Message = "文件太大"; return StatusCode(500, response);}
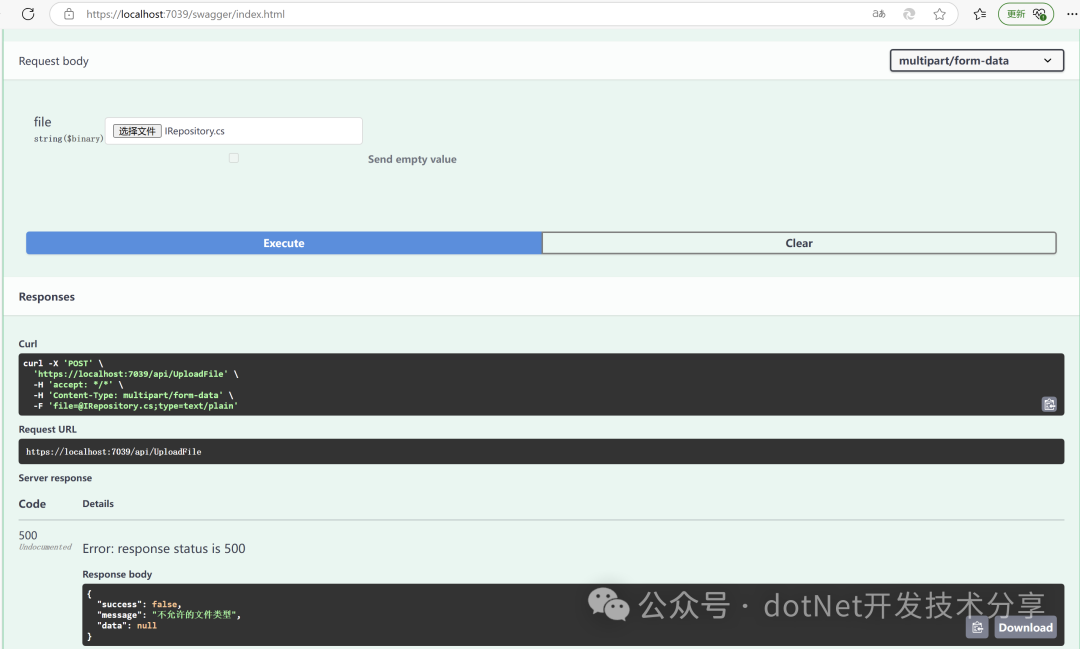
文件类型验证
文件上传,需确保文件为我们需要的类型(如图片类型),可以通过在上传方法中嵌文件类型的验证逻辑。
// 在服务器端,应该验证上传文件的类型,防止恶意文件(如可执行文件)的上传。// 可以通过检查文件的扩展名或者内容类型(ContentType属性)来进行验证var allowedExtensions = new[] { ".jpg", ".png" };var fileExtension = Path.GetExtension(file.FileName);if (!allowedExtensions.Contains(fileExtension)){ response.Success = false; response.Message = "不允许的文件类型"; return StatusCode(500, response);}
小结
通过上述一系列步骤,我们就可在 Web API 中实现文件的上传功能。在实际应用场景中,我们还需根据业务需求进一步拓展完善该功能。
该文章在 2025/1/22 10:21:10 编辑过


 400 186 1886